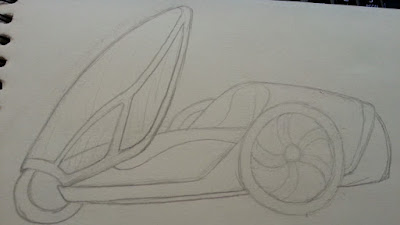
Decided to sketch up an idea for another lamp for fun, this one Poseidon themed.
Thursday, December 17, 2015
Monday, December 14, 2015
Final Project: Final!
And finished! Attached the staff and base with strong Apoxy and super glue. Attached the working switch and gave it a cord. Really like how it came out! Thanks to everyone who helped!
Final Project #5
Attached the horns by grinding them down to fit on the belt sander and then used Apoxy to attach them. Painted the print black and then did a light spray of gold.
Thursday, December 3, 2015
Joints!
And the staff is now starting to form! A big thank you to LeRon for showing me the free-form tool! It's been a great help!
Wednesday, December 2, 2015
Spike Models
Thursday, November 19, 2015
Tuesday, November 17, 2015
Final Project Proposal: Lamp of Hades
For the staff and rocks, I plan on 3D printing them as a shell, and then painting them.
I may or may not include the hand, because I'm not sure if I like it or not. I might just have the staff instead.
Monday, November 9, 2015
Car Modeling
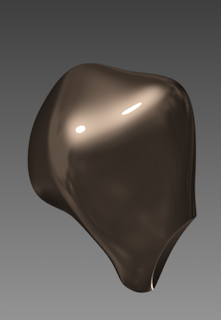
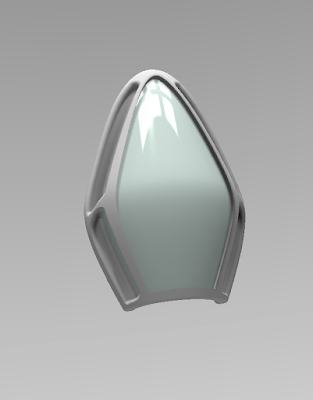
Started over from scratch to create the windshield, and I liked how this one turned out a lot better. I plan on building things separately then joining them all together in an assembly.
Thursday, October 22, 2015
I'm Stuck Again... :(
So I drew the tabs that will be used, but when I went to create corner seams, they wouldn't work and I couldn't find out why. They are new solids and are not drawn on the original face.
I can't get them connected and I don't know how to fix it, so I didn't want to start adding the holes for it before getting this problem fixed. Any help would be greatly appreciated!
Monday, October 12, 2015
Fleshing Out Ideas
I started fleshing out the design that we'd be creating by drawing it in different angles to get a better sense of how the vehicle looks.
Wednesday, October 7, 2015
SMV: Refined Prototype
For the refined prototype, I went with the design that I liked the best from the paper prototypes. I measured out the cuts more, so they are each .5 inches and the top bands are .7 inches. I also cut out flaps for easier attachment and that worked out much better than overlapping strips.
SMV: Paper Prototypes
For the Sheet Metal Vessel Paper Prototypes, I had two general themes. Thin, ornamental style cuts and then box-like shapes.
These aren't all of the prototypes that I made, but these were the ones that I thought were the most successful. I
I really liked the look of this one in particular, and I think the design could transfer over to metal decently.
Paper Construction Practice
For the Paper Construction practice, I decided to try and make the star because I liked how it looked. I had troubles with getting the glue to hold the piece together, so I ended up taping the flaps down instead to try and keep it held together better.
Tuesday, October 6, 2015
Thingiverse
Thingiverse Entry
The most helpful feedback that I got from my peers was about how to form the top, rounded end of the screwdriver. Another student had a similar problem, and we went about it a fairly similar way, but there were a few differences in the plane and extruding process. I did multiple layers of planes to try and gradually round and then added a fillet, and they used less planes and smaller circles with a fillet to make a rounded top. Both of us attempted creating a revolve for the top, but neither of us achieved the desired outcome with that method.
Car Modeling #1
We decided to do some design sketches as our first step of the modeling process to get some different ideas of what we could model.
I decided to try a more angular car, rather than a heavily rounded one, since I think working with geometric shapes would be easier in Inventor.
Monday, September 21, 2015
Monday, September 14, 2015
Wednesday, September 9, 2015
Thursday, September 3, 2015
Subscribe to:
Comments (Atom)


